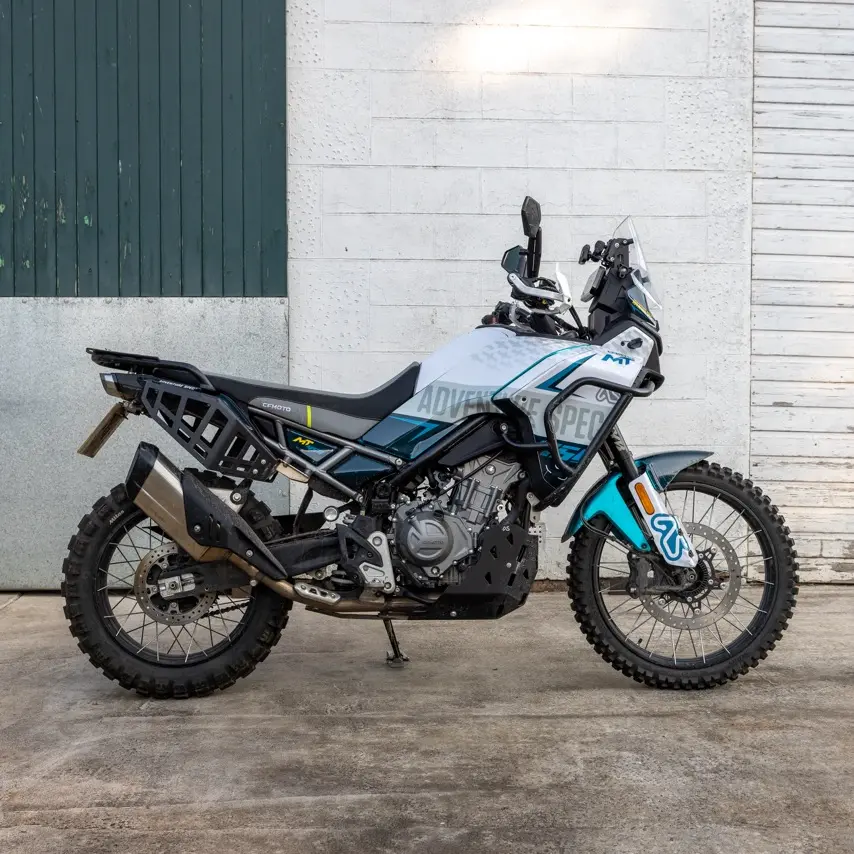
The principle behind Adventure Spec Hard Parts is simple. How do you take that shiny bike you’ve just wheeled off the showroom floor, and make it suitable for multi-day adventure riding?
Our answer is in three parts.
1: Crash protection.
2: Navigation.
3: Luggage.
You can find out more of the story behind our thinking here, but I suspect you have landed on this page because you are interested in the luggage bit.
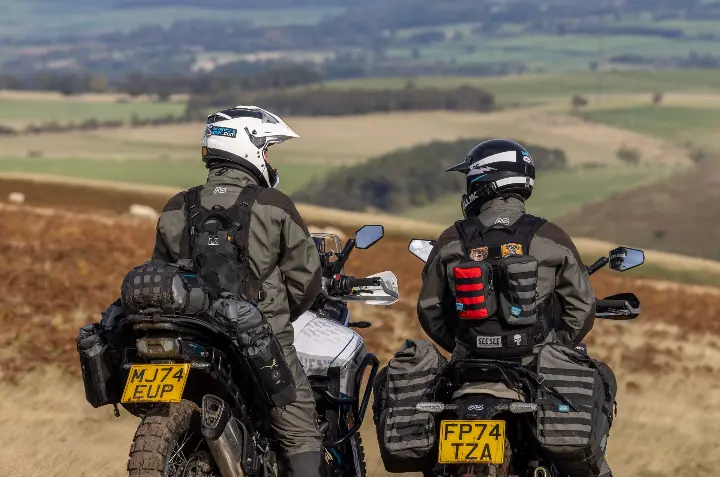
Our luggage racks are designed to be light, strong and extremely versatile. Mounting options are broad allowing a huge range of soft luggage to be secured to your bike.
Here’s three examples of how some of the most popular panniers can be mounted.
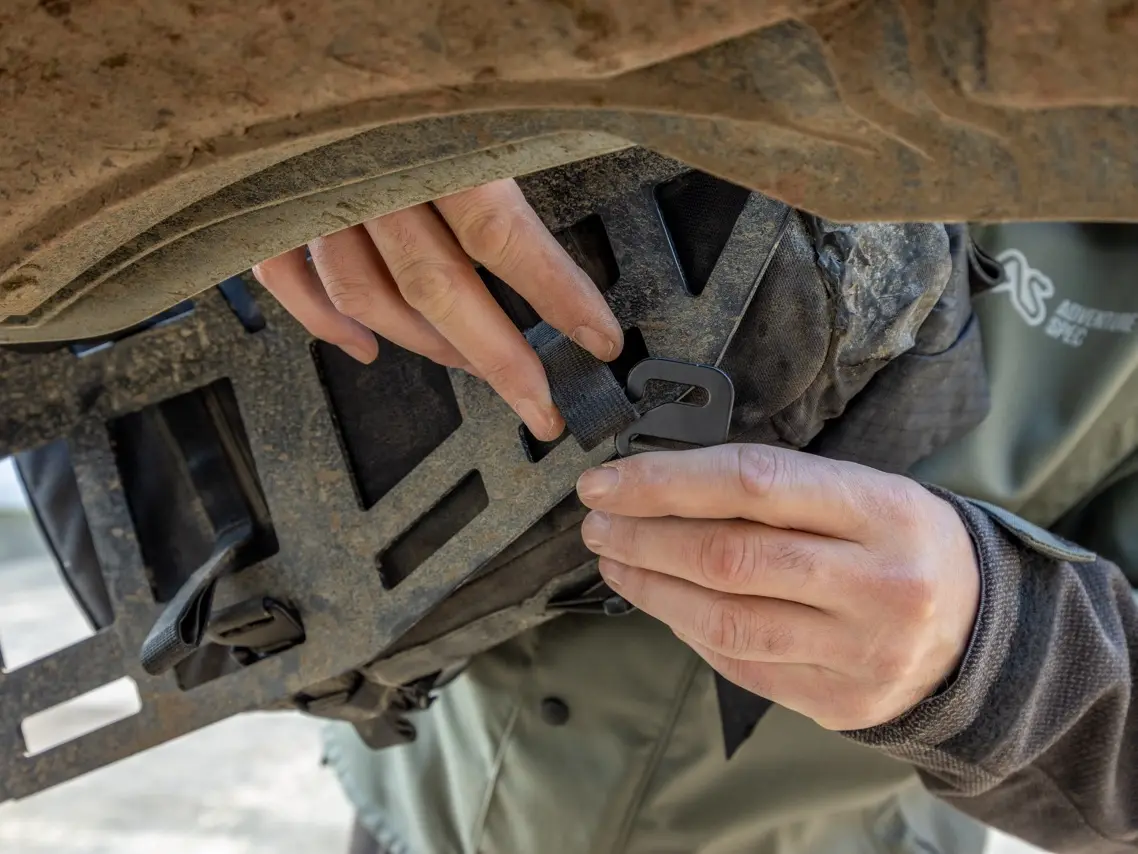
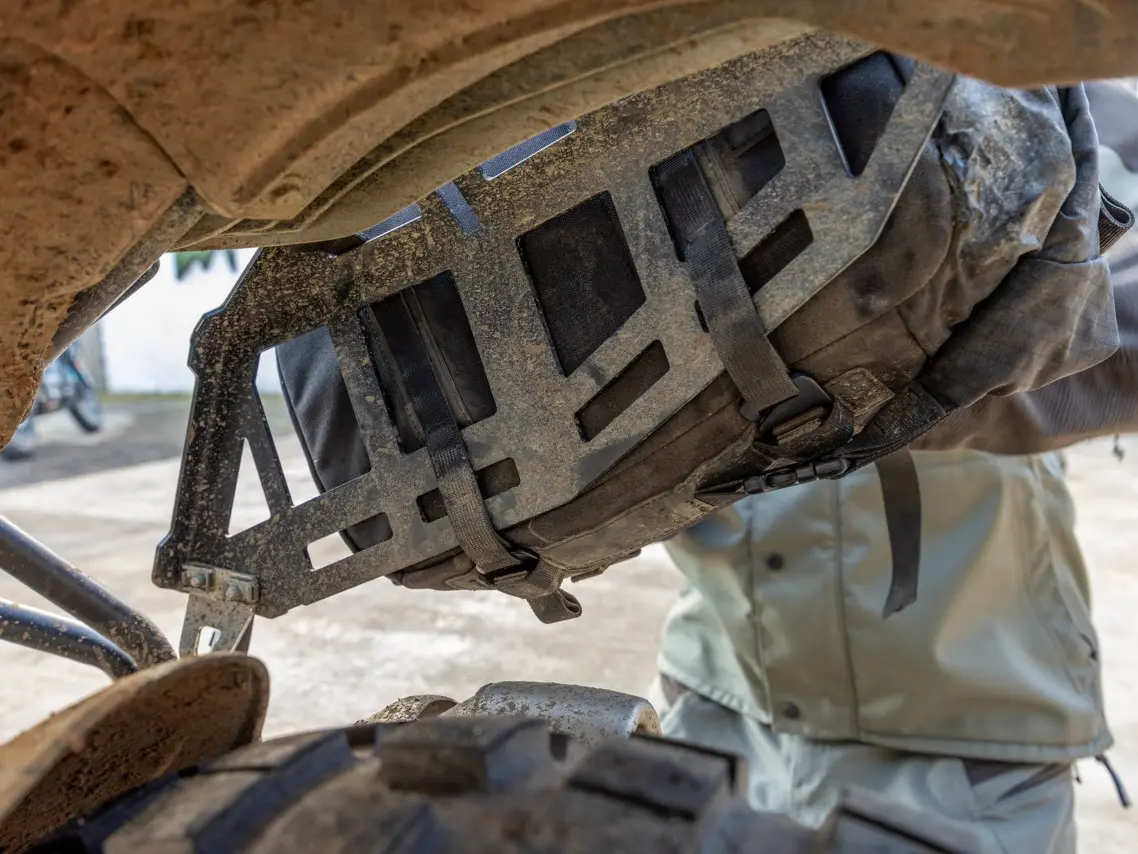
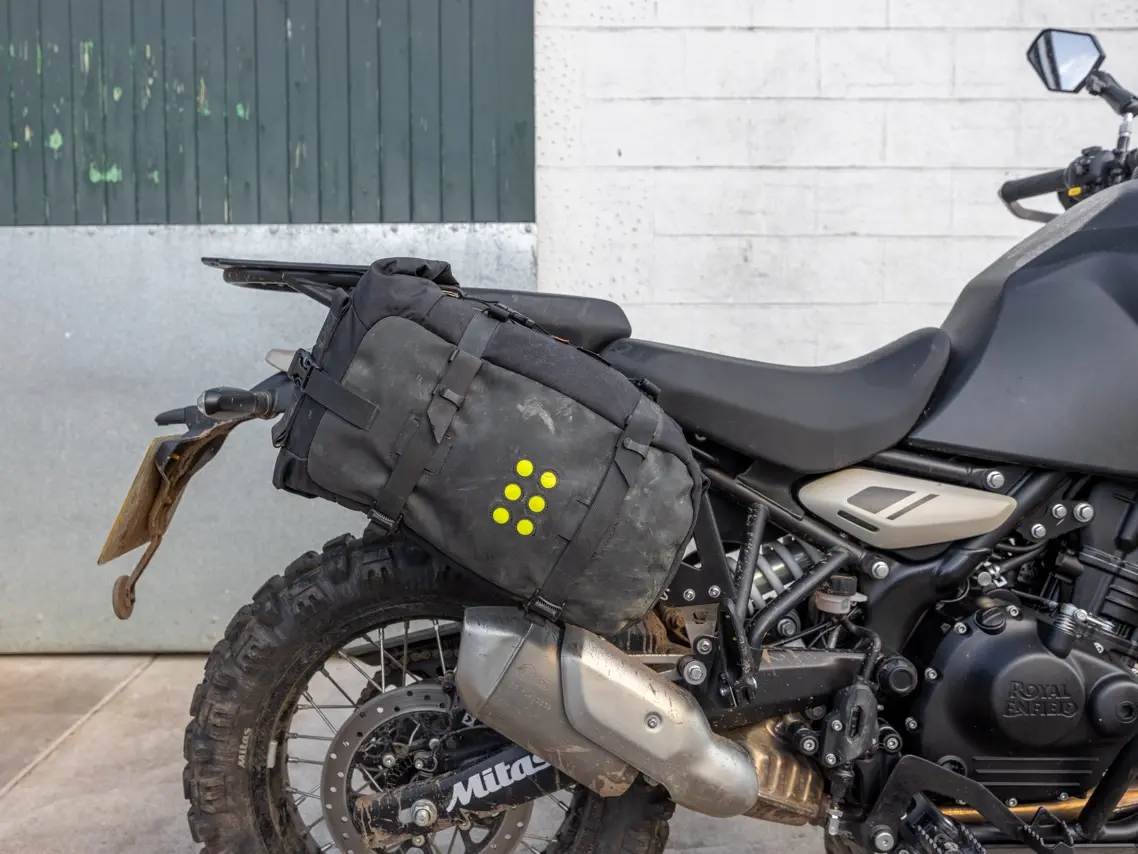
Kriega OS-6 / OS-12 / OS-18
Adventure Spec Magadan Panniers
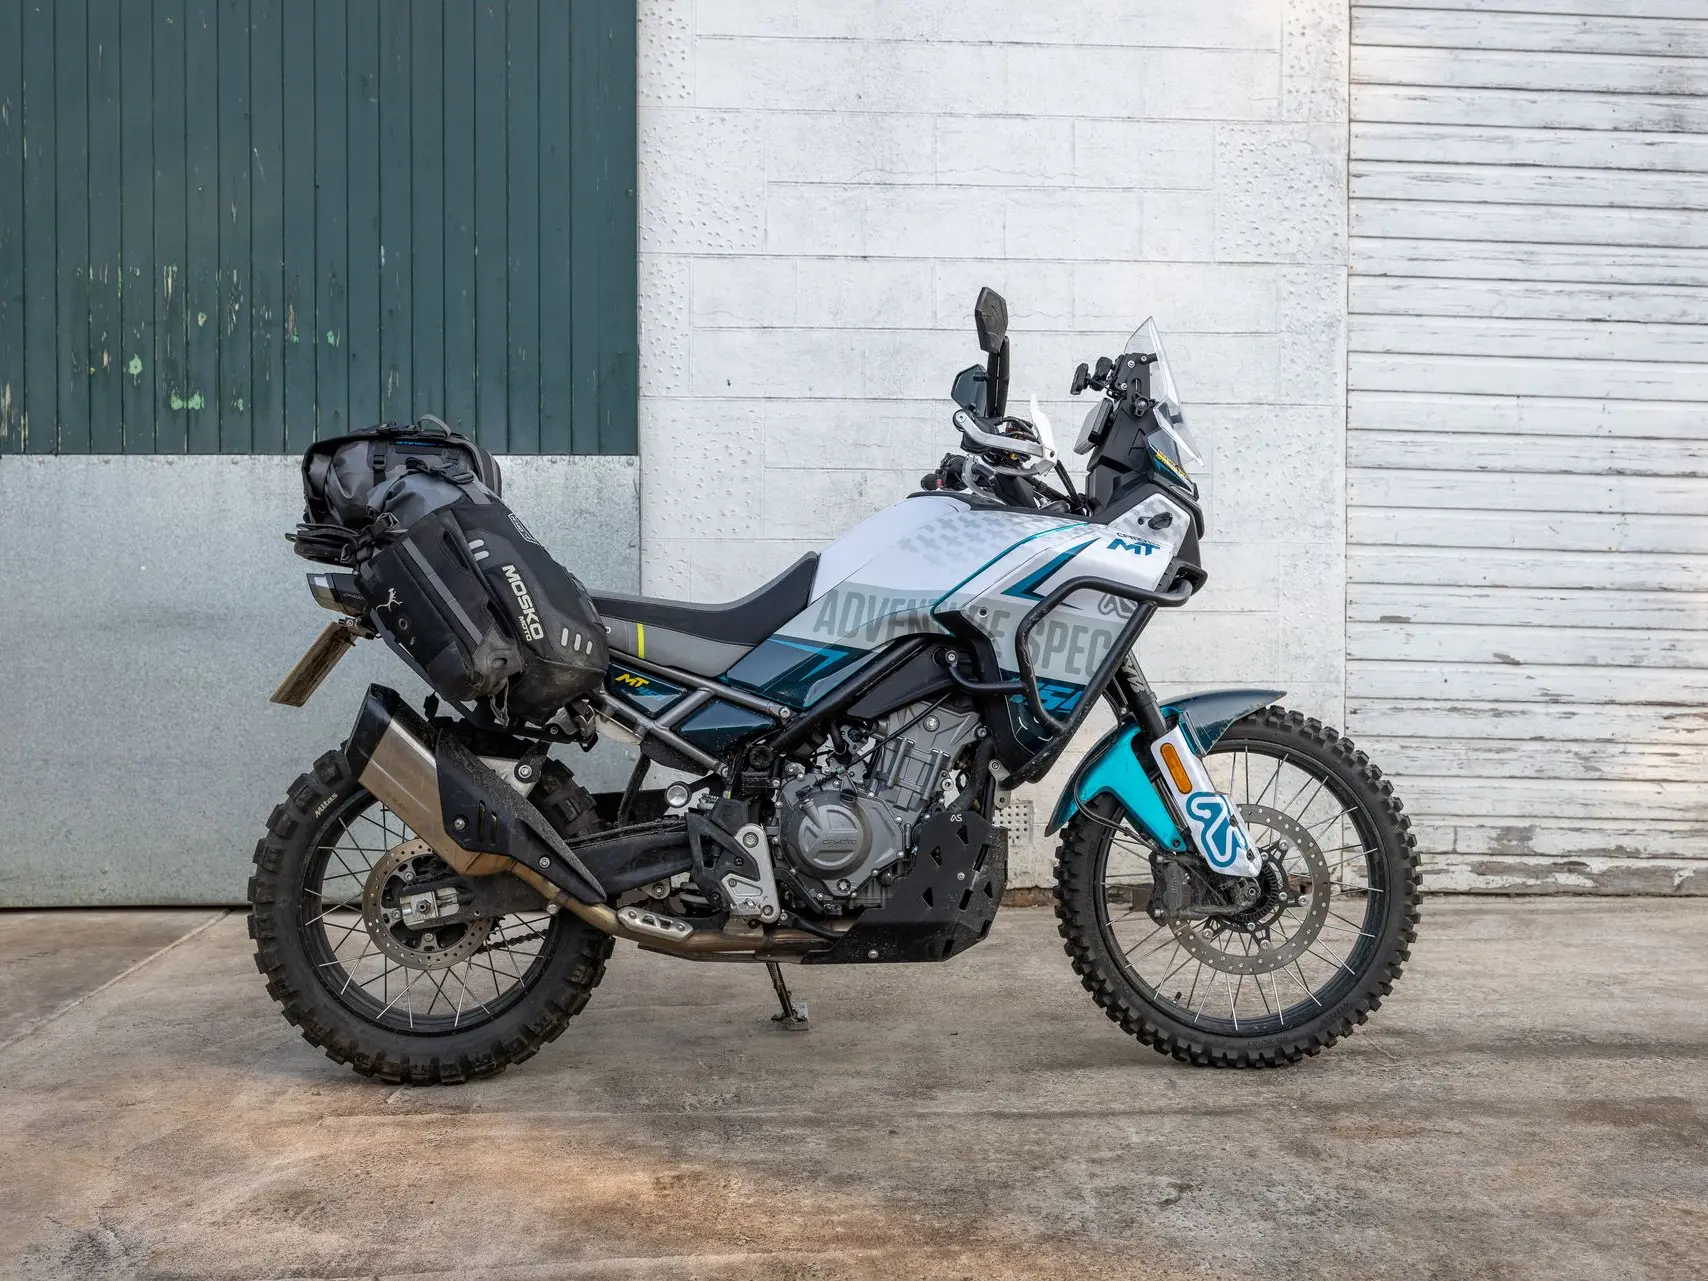
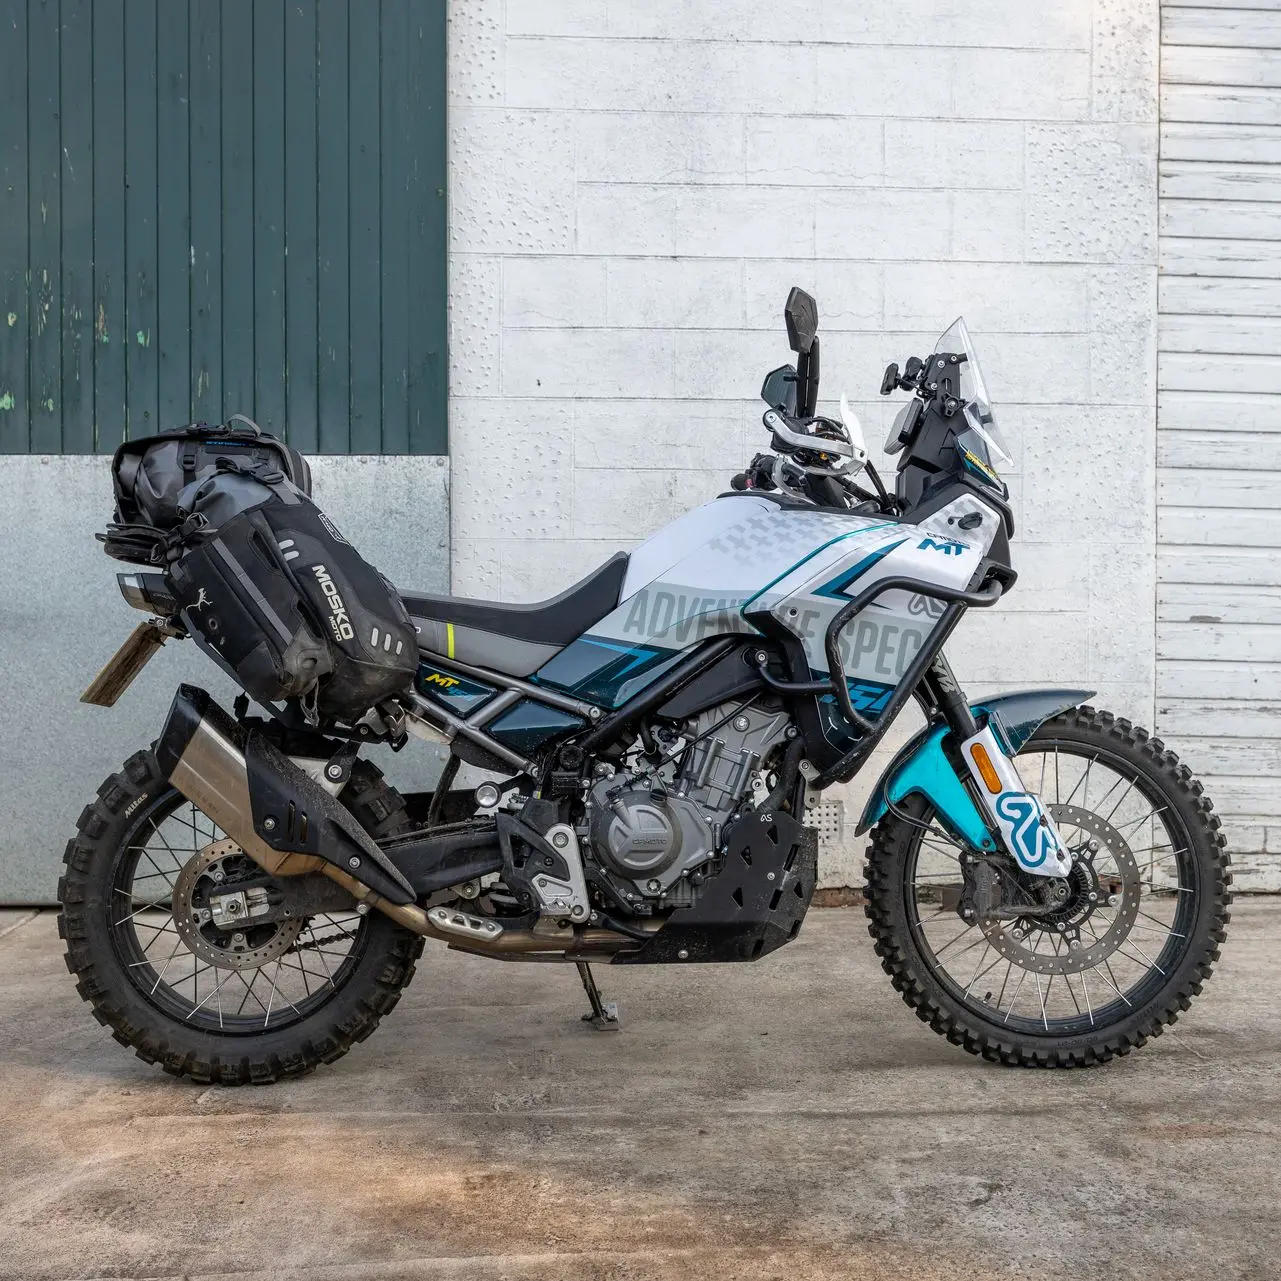
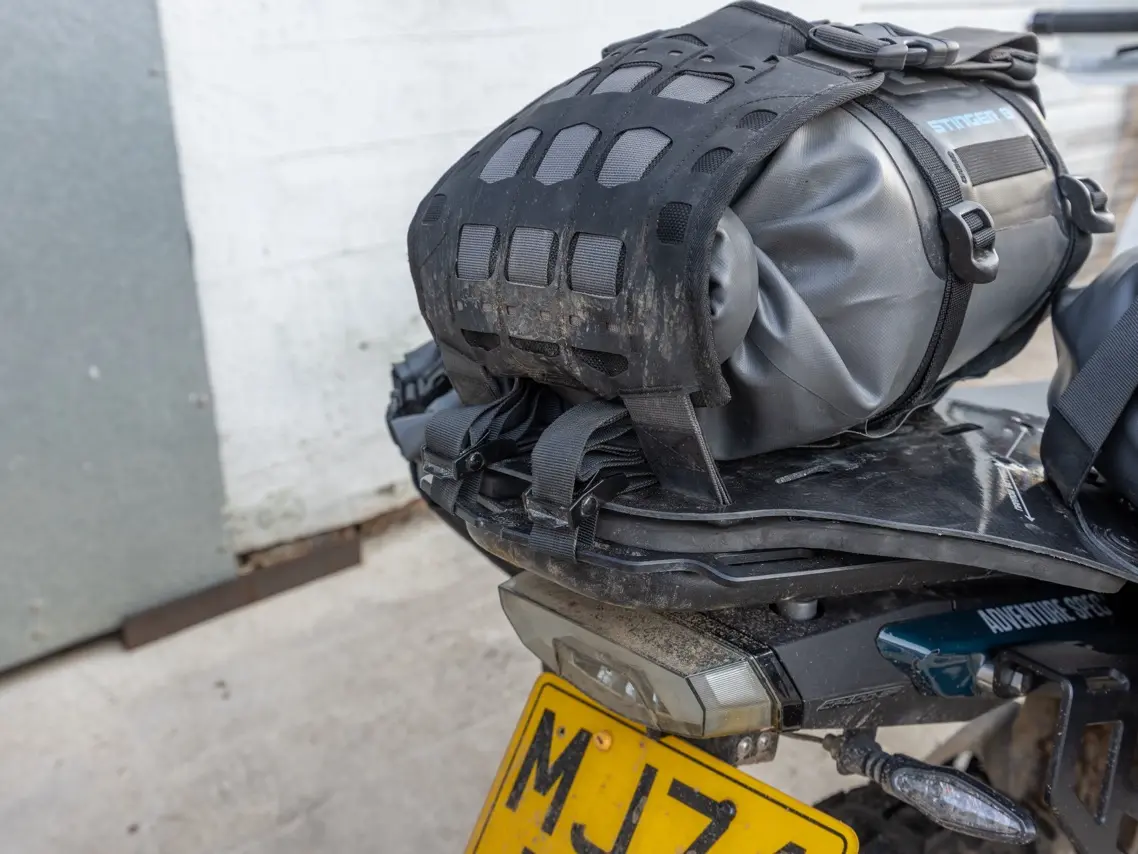
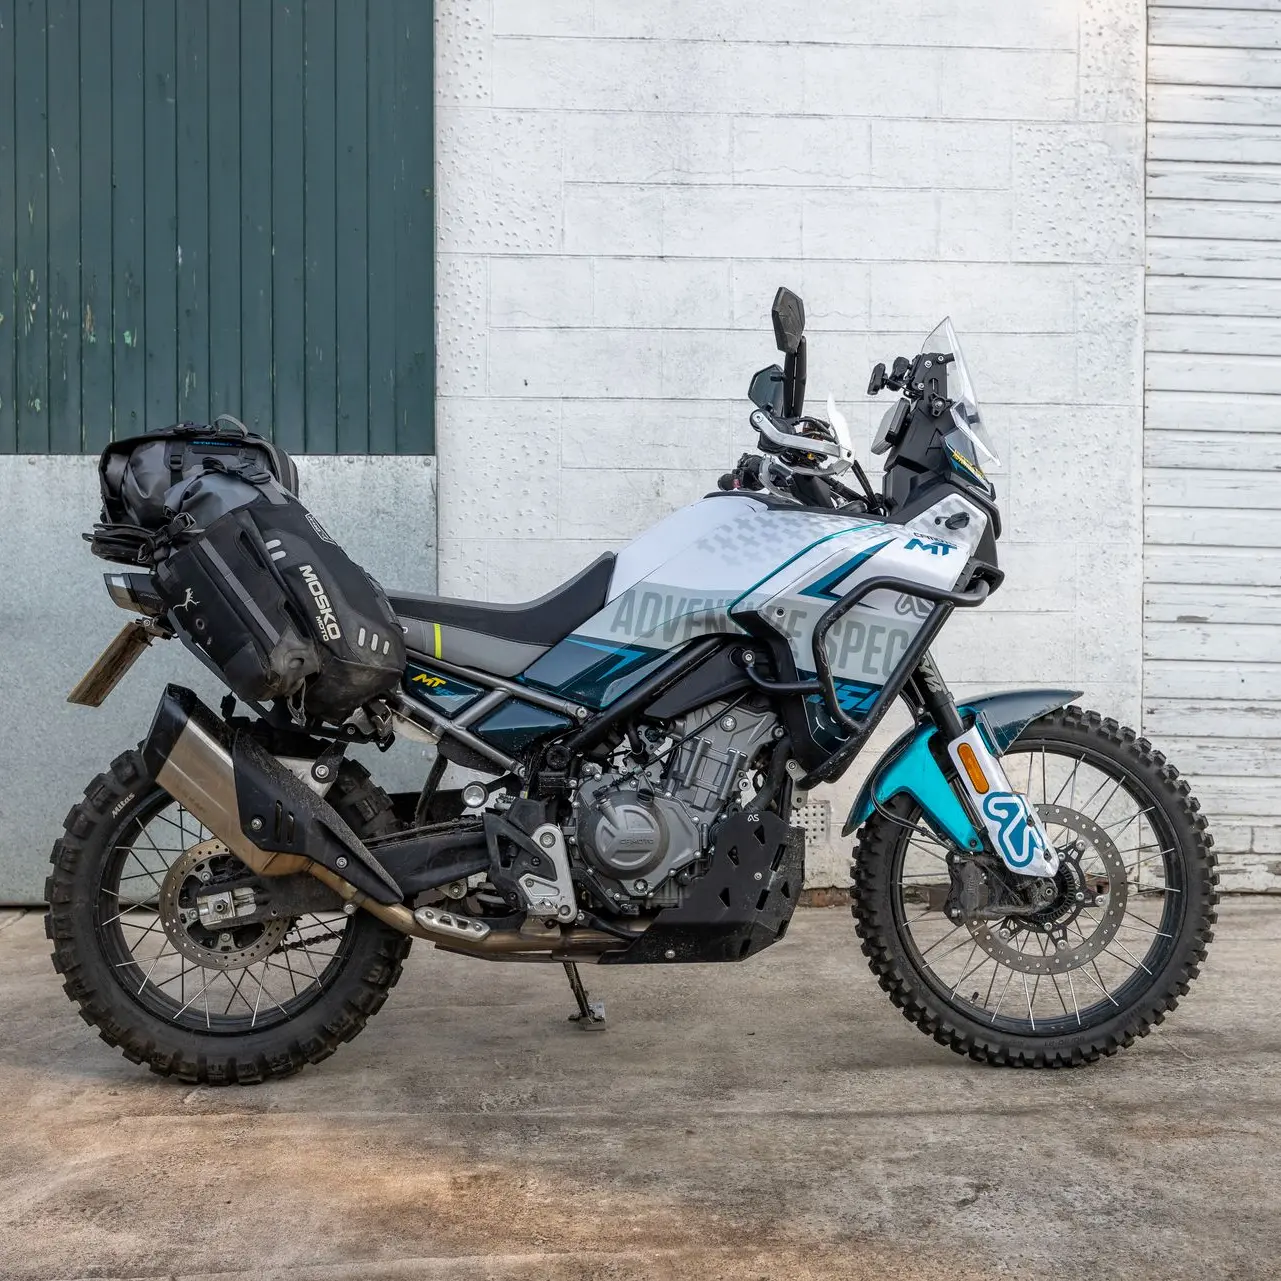
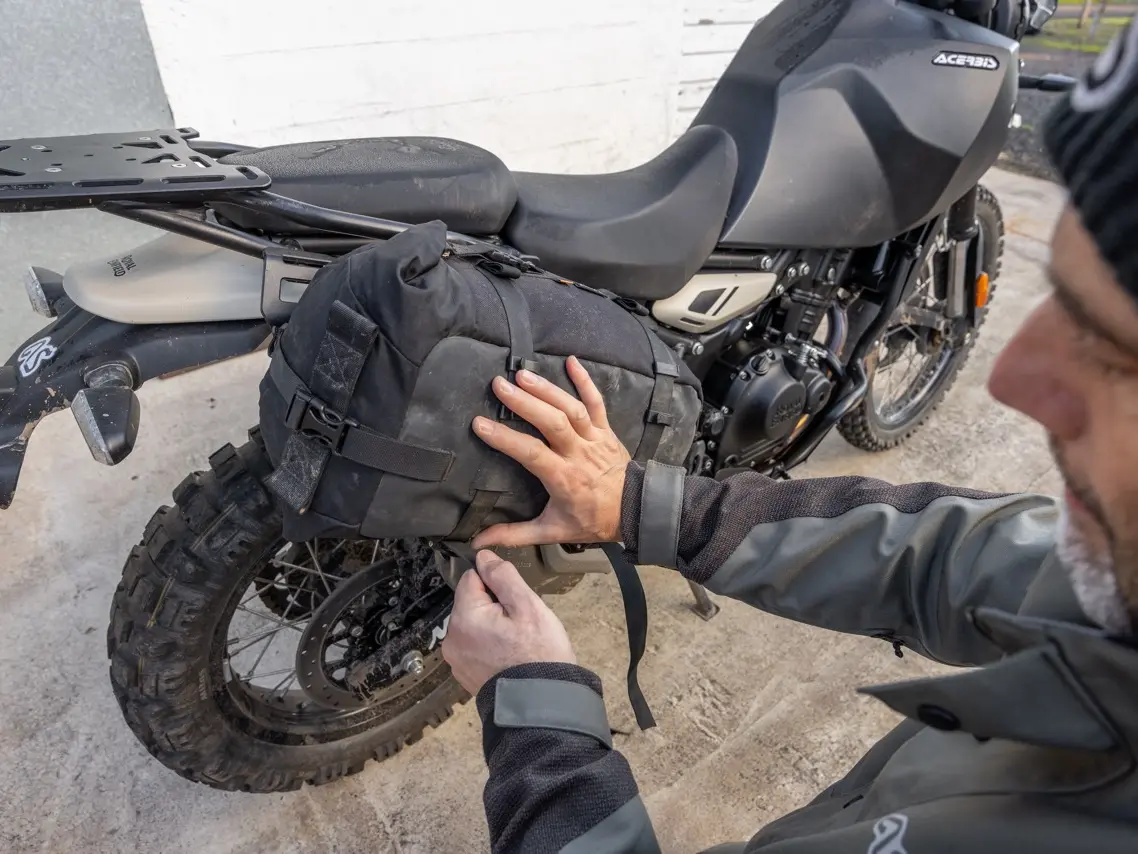
Mosko Moto Reckless 80 - with Gnoblin:
From 2026 onwards our rear top luggage racks come with a pre-drilled hole that accepts the Mosko Moto Gnoblin.
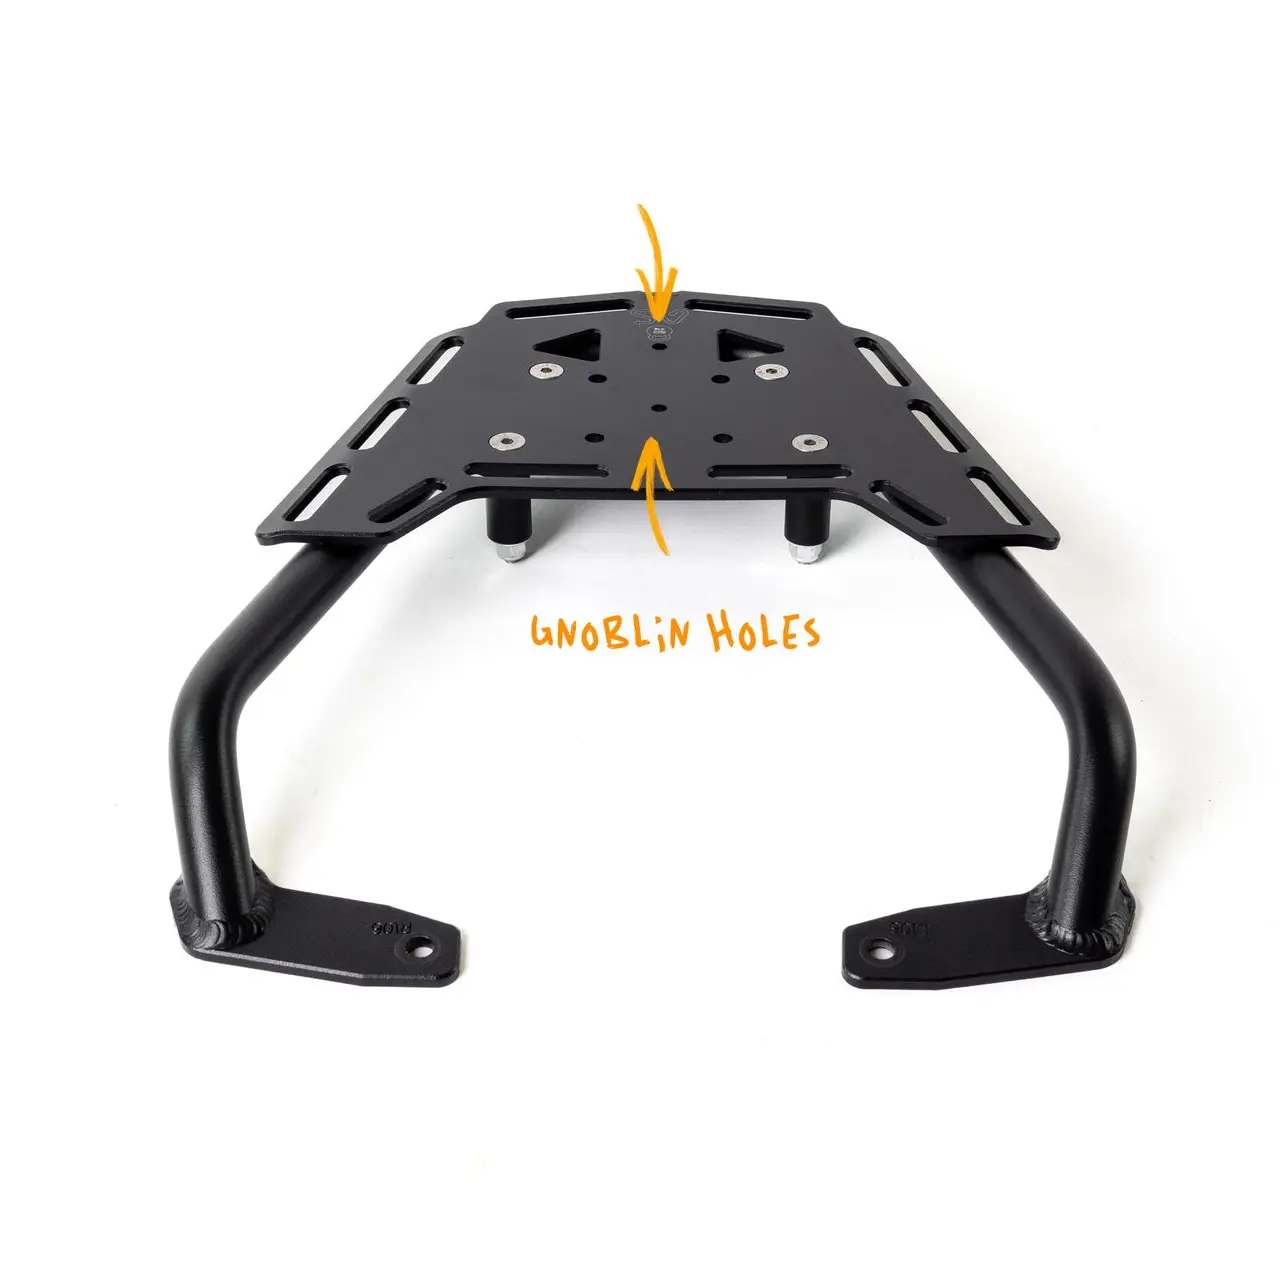
Pre-2026 racks can easily be modified (drilled) to accept the Gnoblin.
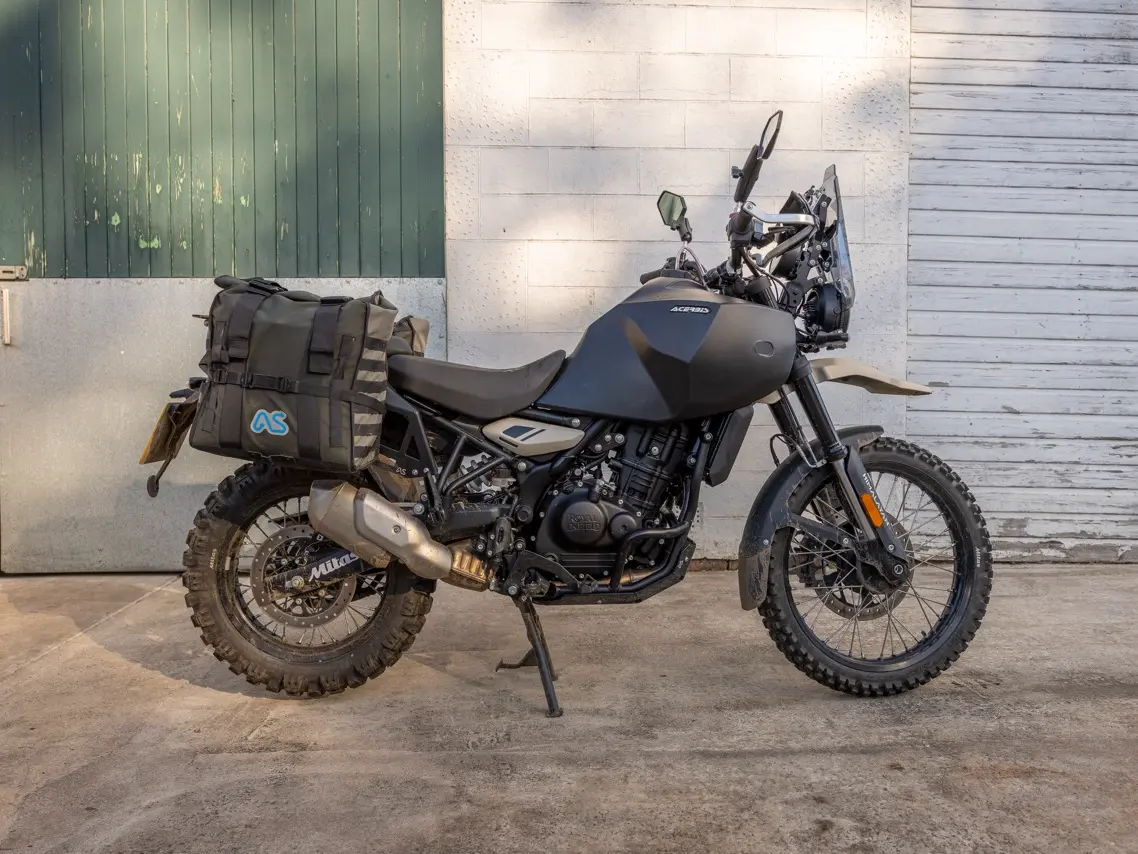
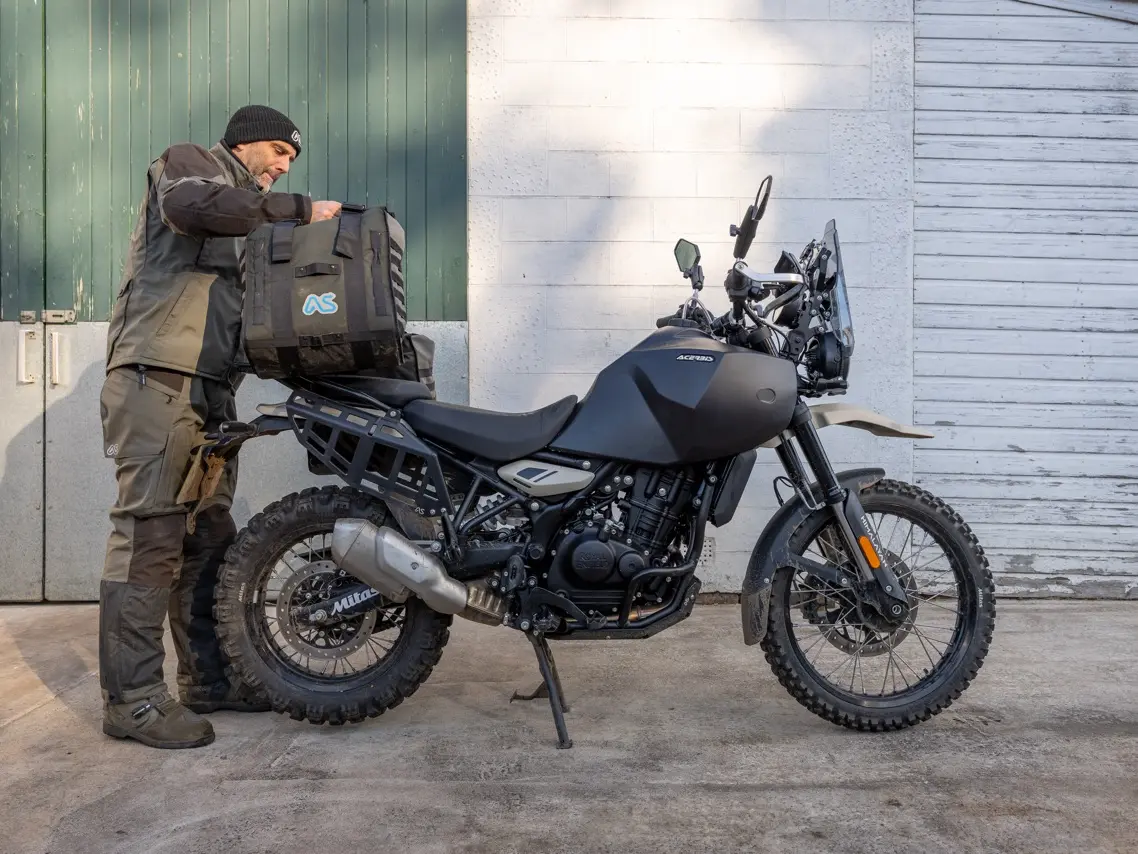
This guide shows the Reckless 80 being installed on the CF Moto 450MT with Adventure Spec luggage racks. Other luggage and bike / rack combos are possible and will follow the principle of this guide.
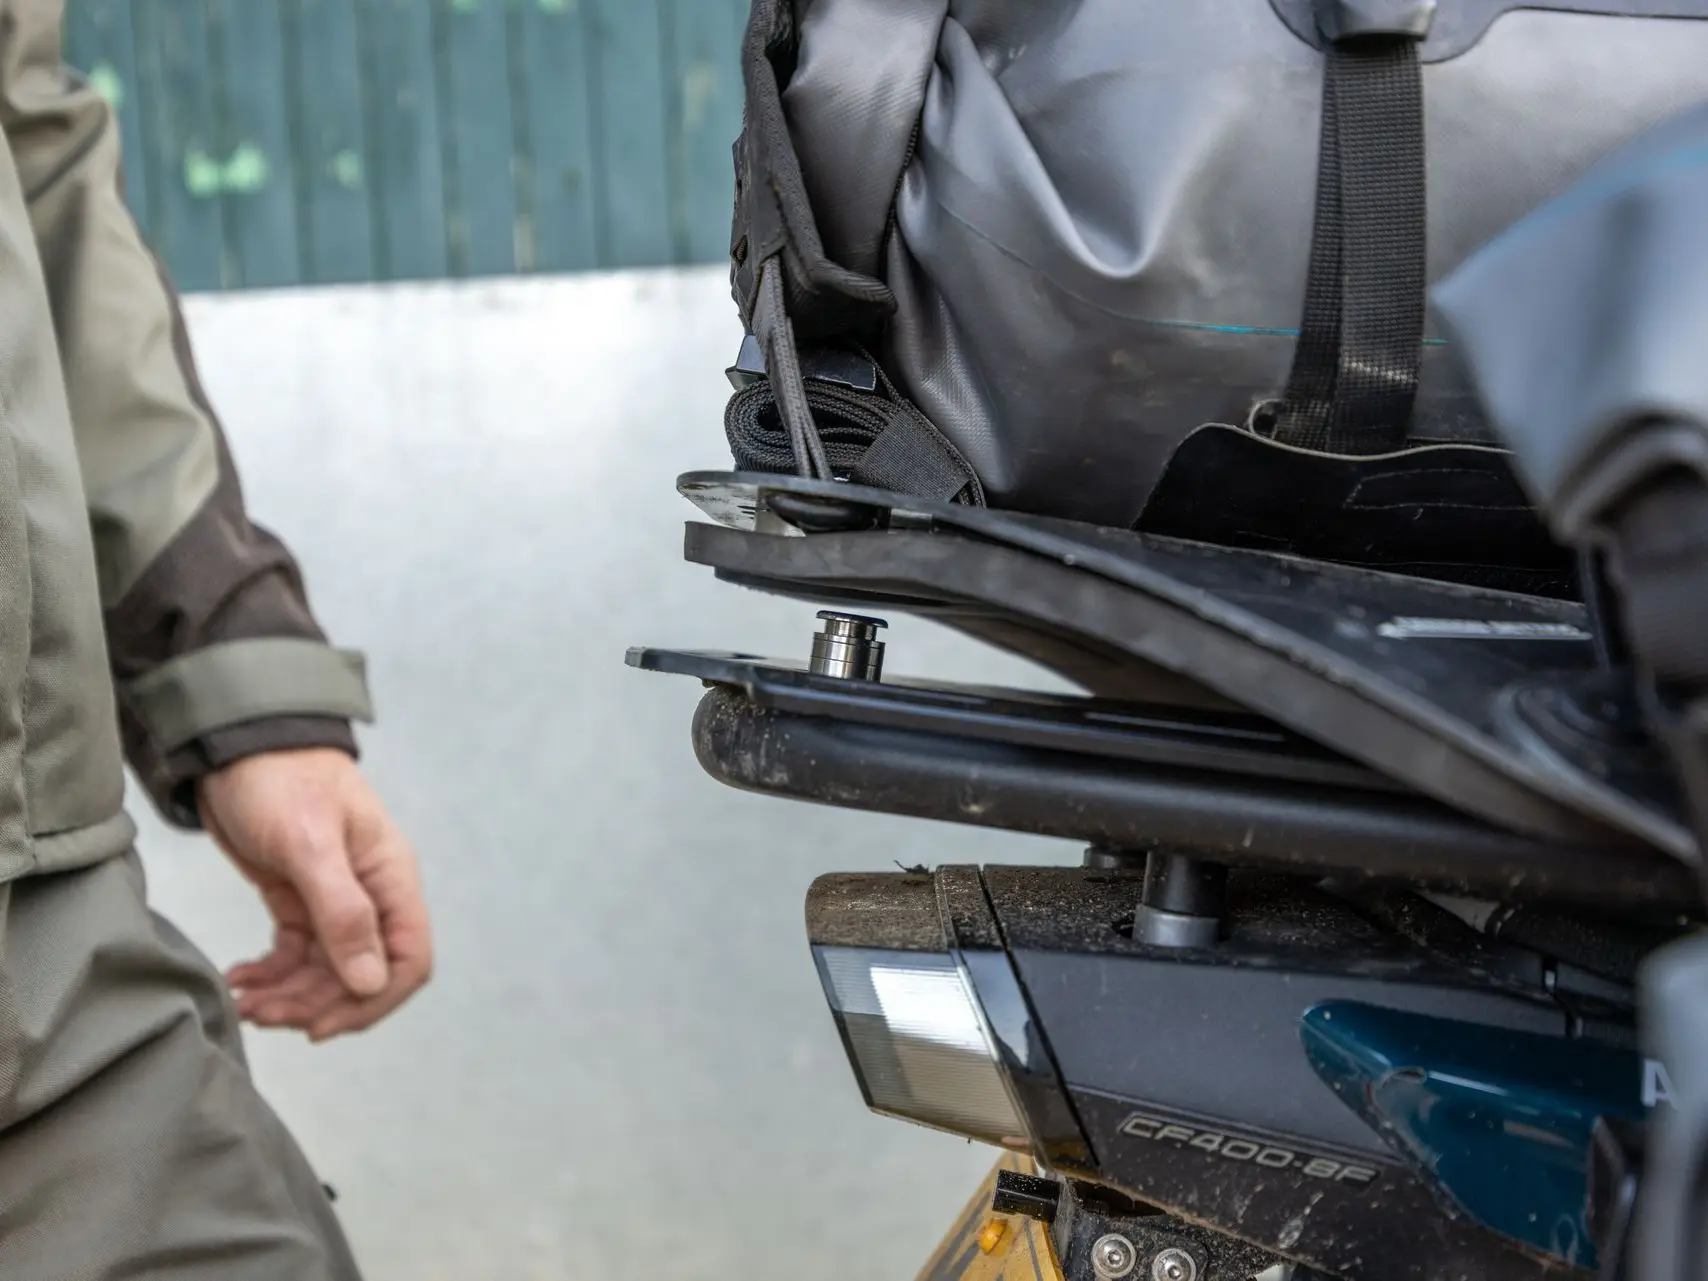
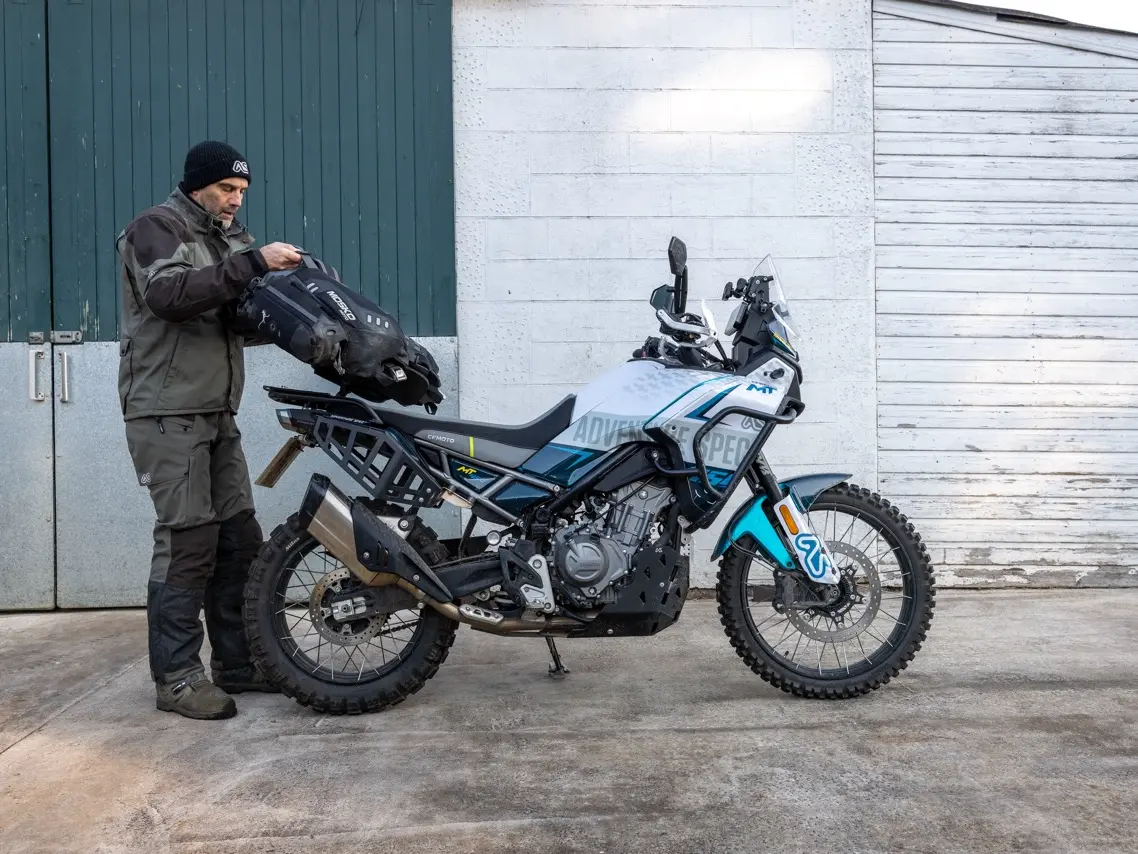
STEP 1:
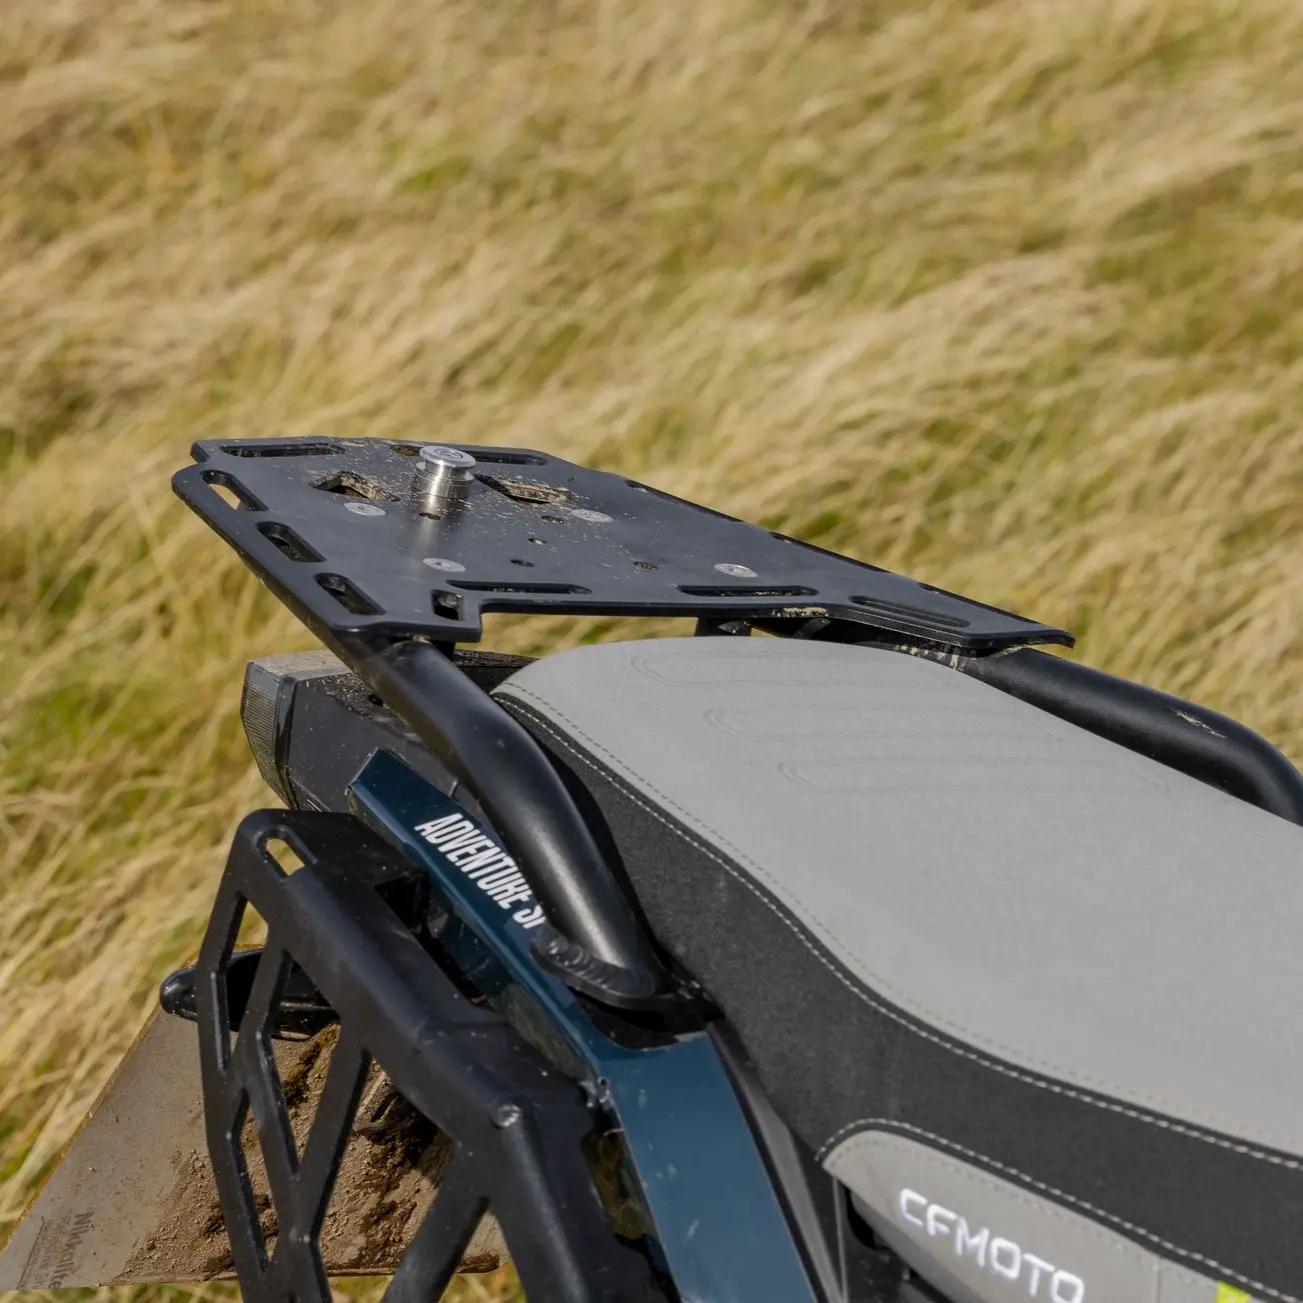
Install the Gnoblin on the top rear luggage rack.
STEP 2:
Loosely mount Reckless 80.
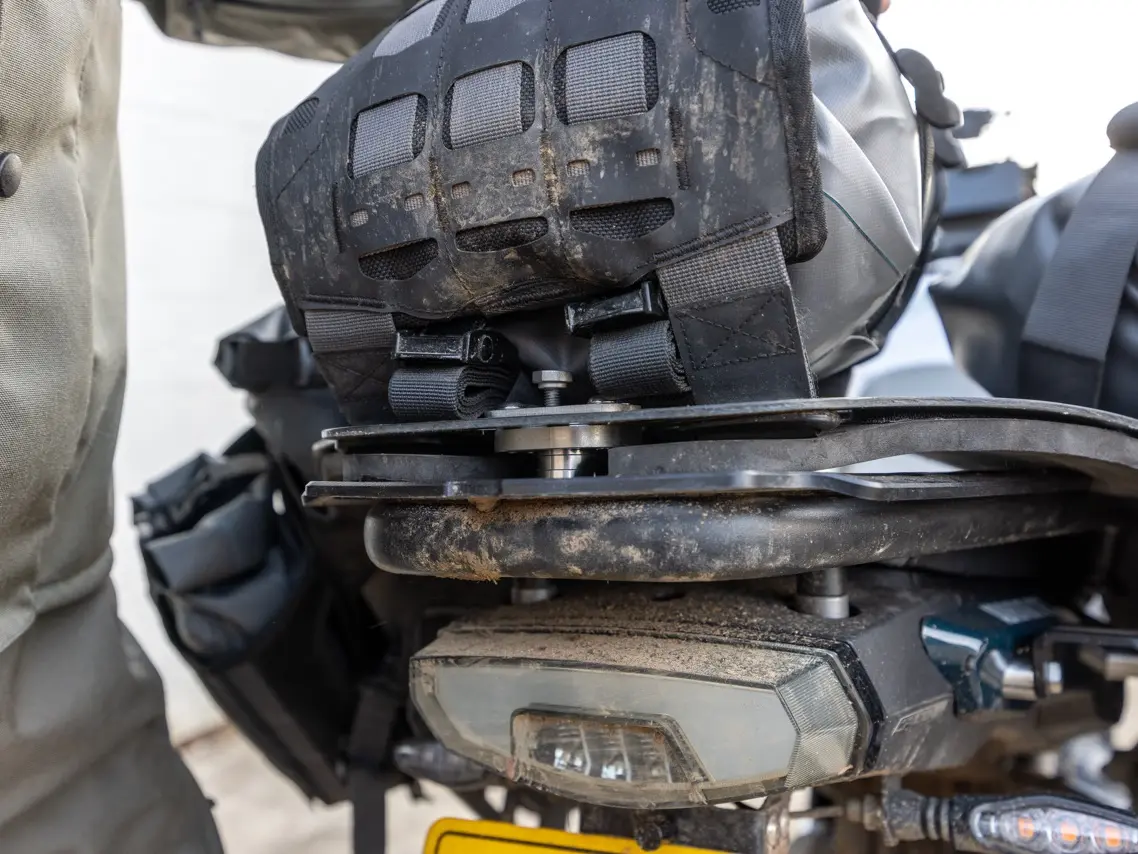
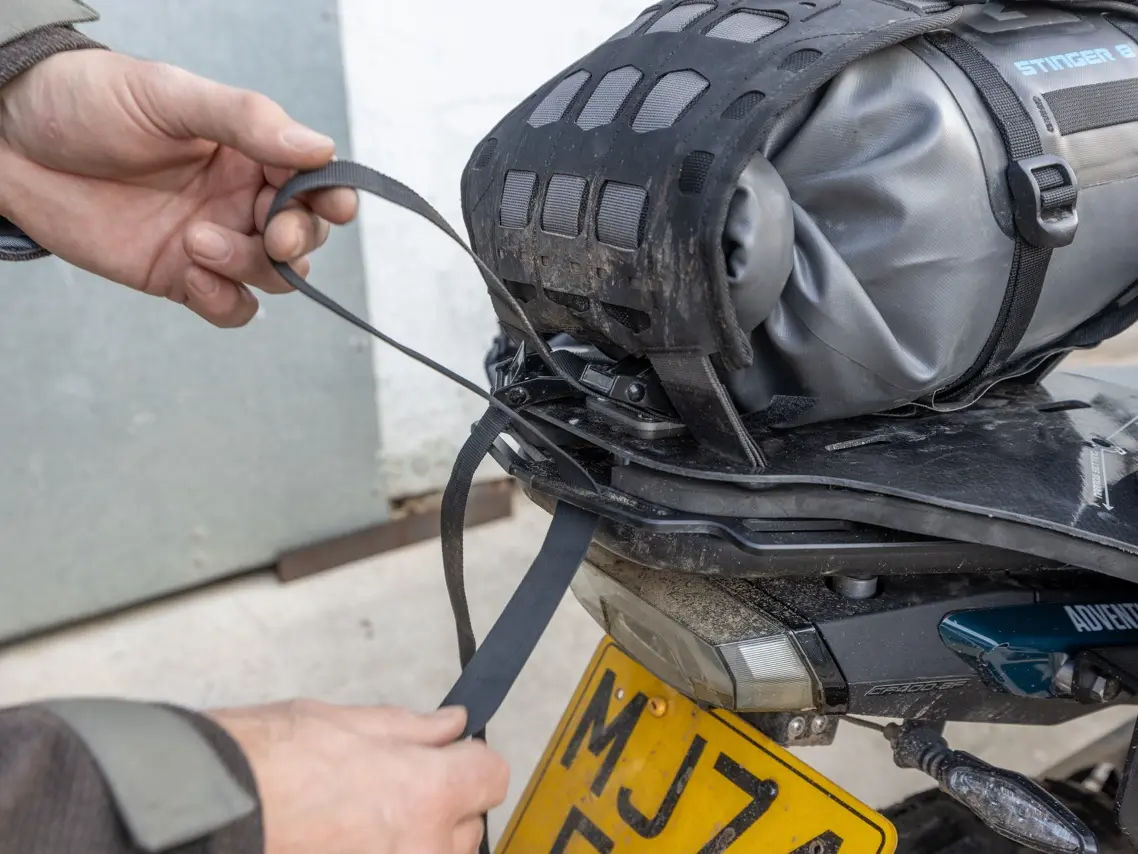
STEP 3:
Clip luggage to Gnoblin on top rear luggage rack.
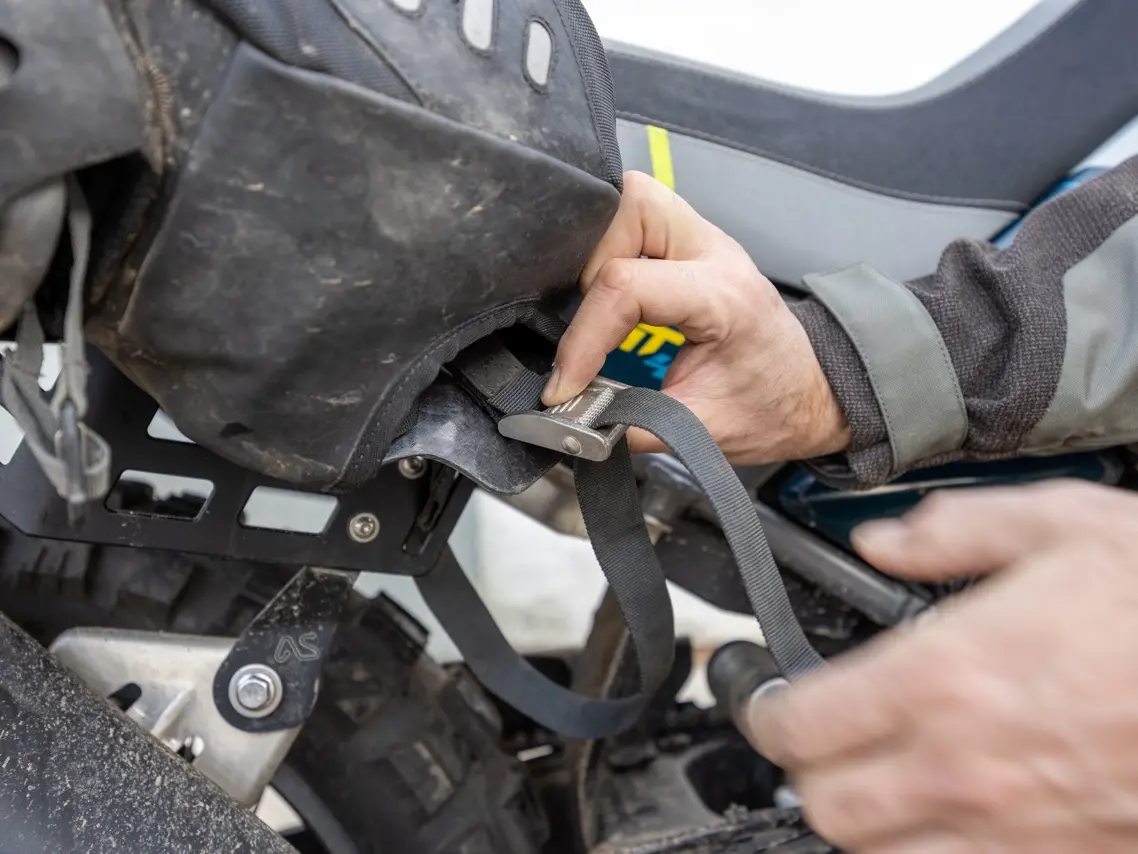
STEP 4:
Secure front straps to front of side luggage racks.
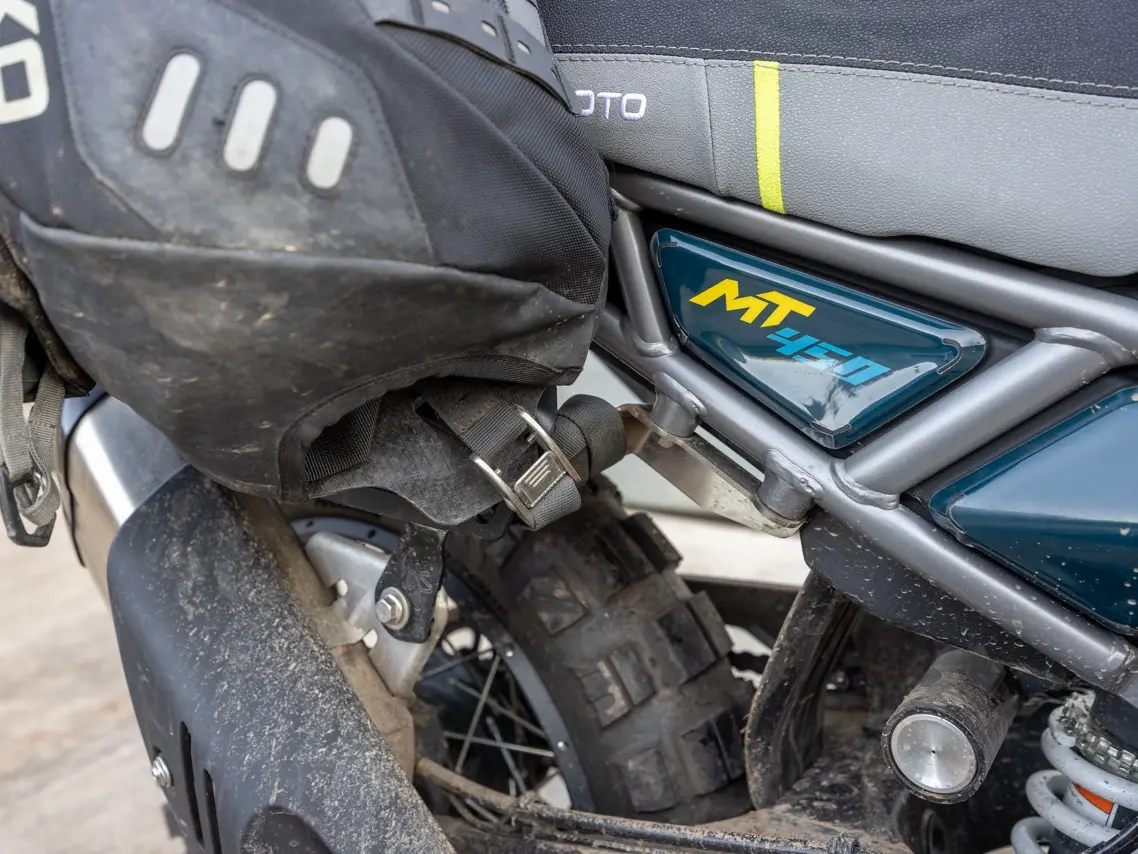
STEP 5:
Tuck away loose straps and give everything a good tug and wiggle to make sure all is secure. Check there is sufficient gap between panniers and exhaust (consider adding our Exhaust Heat Shield if necessary).
★ Installation complete! ★
Mosko Moto Reckless 80 - without Gnoblin:
STEP 1:
Loosely mount Reckless 80.
STEP 2:
Secure rear straps to rear of top rear luggage rack.
STEP 3:
Secure front straps to front of side luggage racks.
STEP 4:
Tuck away loose straps and give everything a good tug and wiggle to make sure all is secure. Check there is sufficient gap between panniers and exhaust (consider adding our Exhaust Heat Shield if necessary).
★ Installation complete! ★
BUY CF MOTO 450MT HARD PARTS HERE
Kriega OS-6 / OS-12 / OS-18 Panniers:
All Adventure Spec luggage racks come with mounting options suitable for a variety of different luggage and straps.
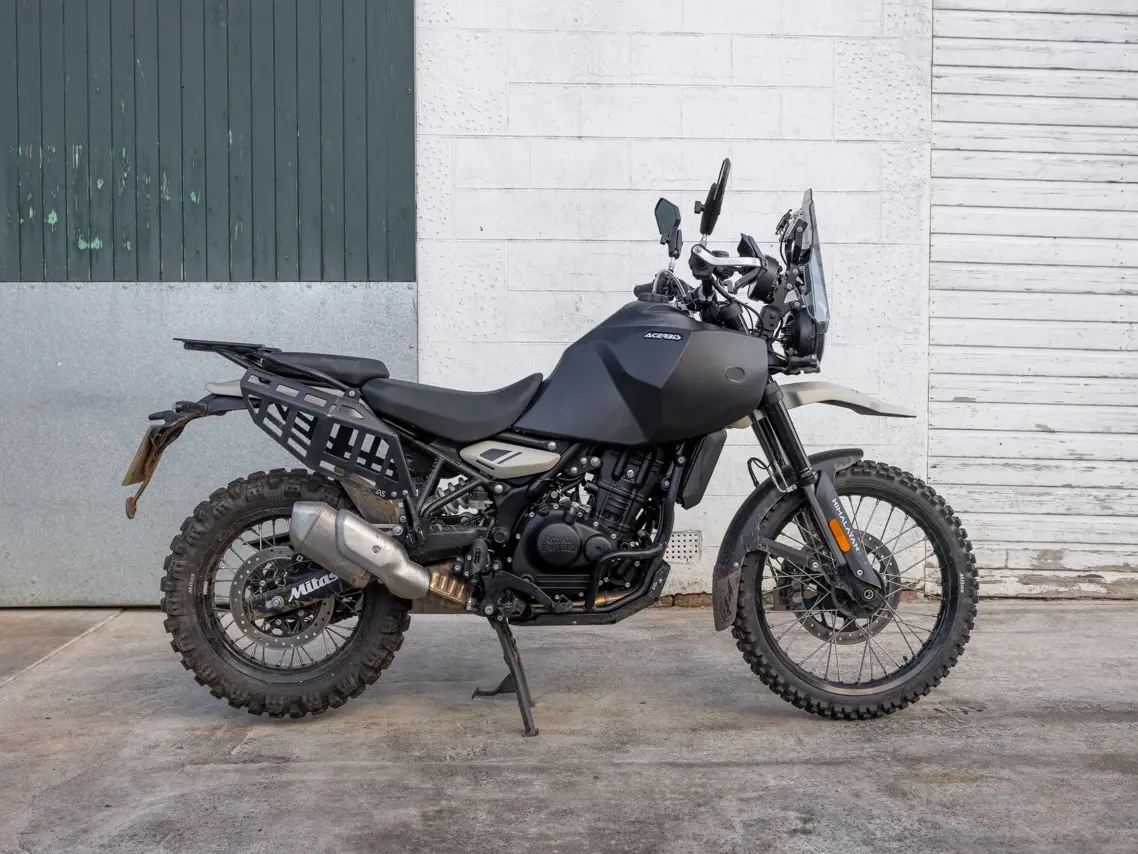
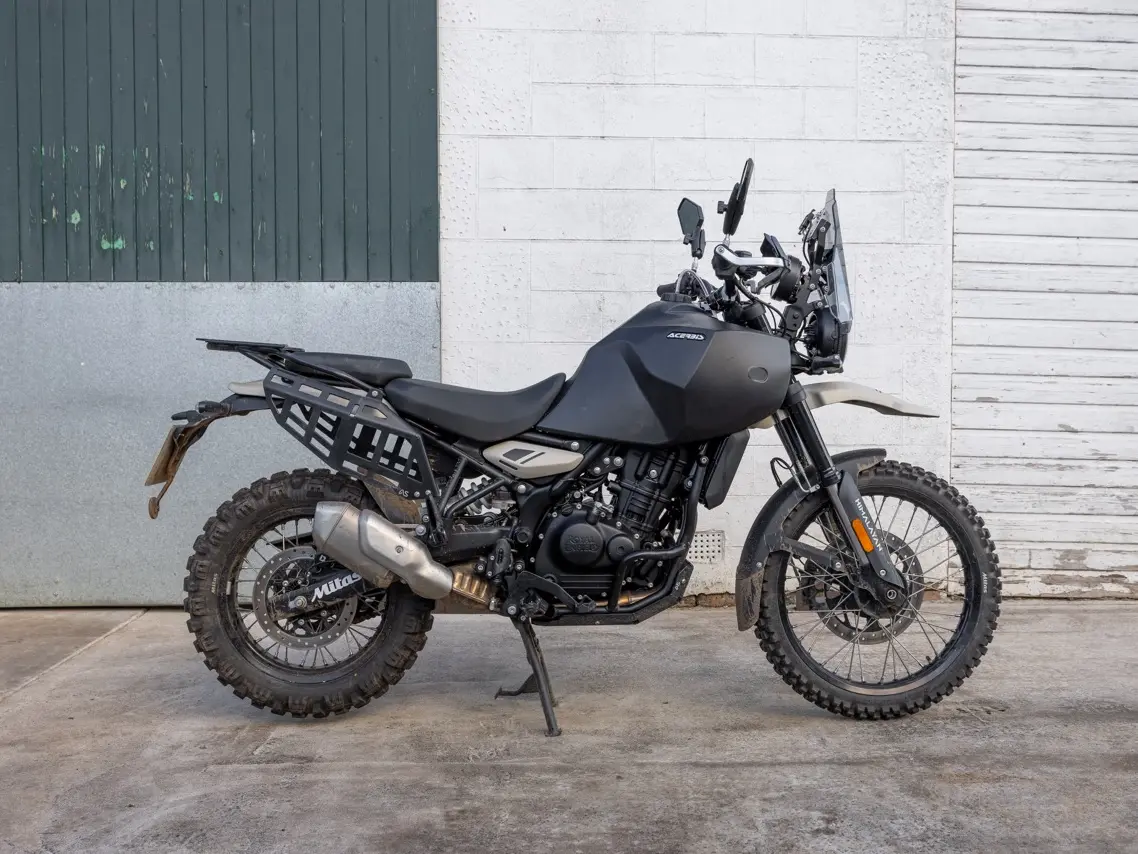
This guide shows the Kriega OS-12 Panniers being installed on the Royal Enfield Himalayan with Adventure Spec luggage racks. Other luggage and bike / rack combos are possible and will follow the principle of this guide.
Adventure Spec Side Luggage Racks
STEP 1:
Thread OS-12 straps through mounting holes on the top of the rack and loosely secure.
STEP 2:
Thread lower straps through bottom of rack and loosely secure.
STEP 3:
Tighten straps.
STEP 4:
Tuck away loose straps and give everything a good tug and wiggle to make sure all is secure. Check there is sufficient gap between panniers and exhaust (consider adding our Exhaust Heat Shield if necessary).
★ Installation complete! ★
BUY HIMALAYAN 450 HARD PARTS HERE
Adventure Spec Top Rear Luggage Rack
STEP 1:
Thread OS-6 straps through mounting holes at the rear the rack and loosely secure.
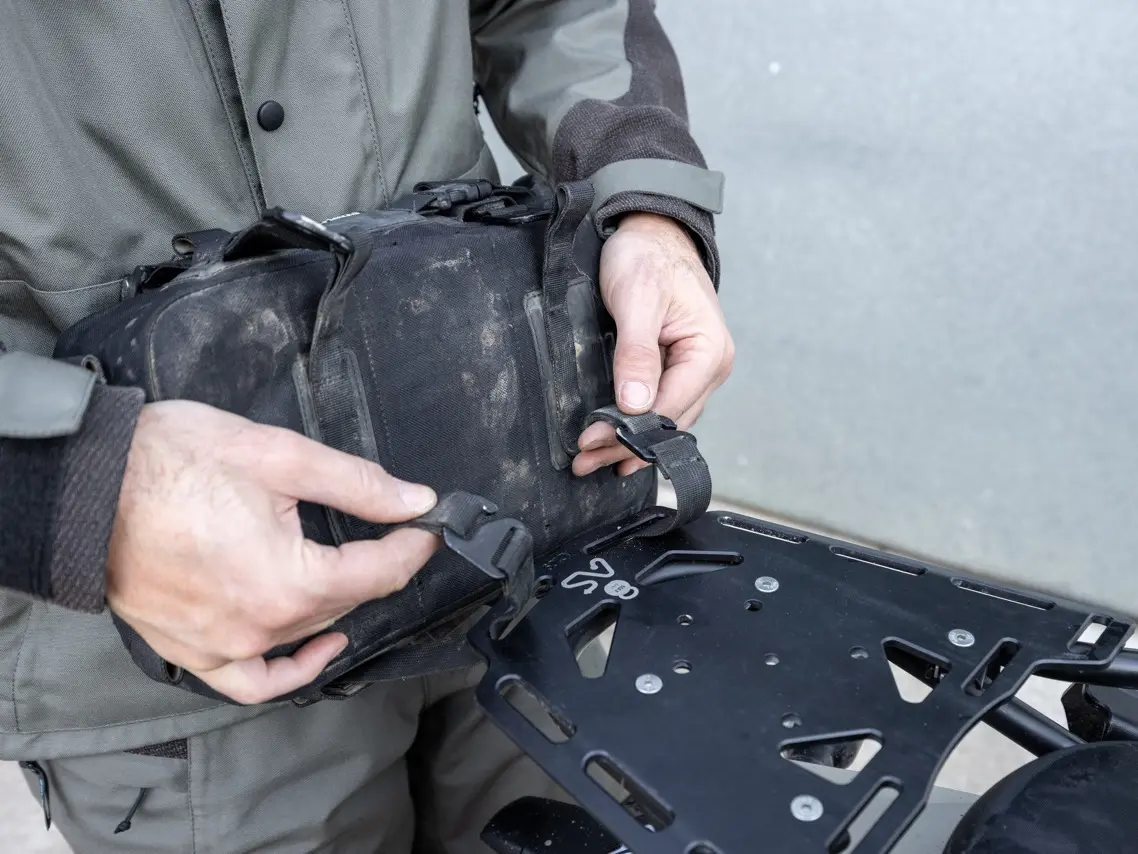
STEP 2:
Thread OS-6 straps through mounting holes at the front of the rack and loosely secure.
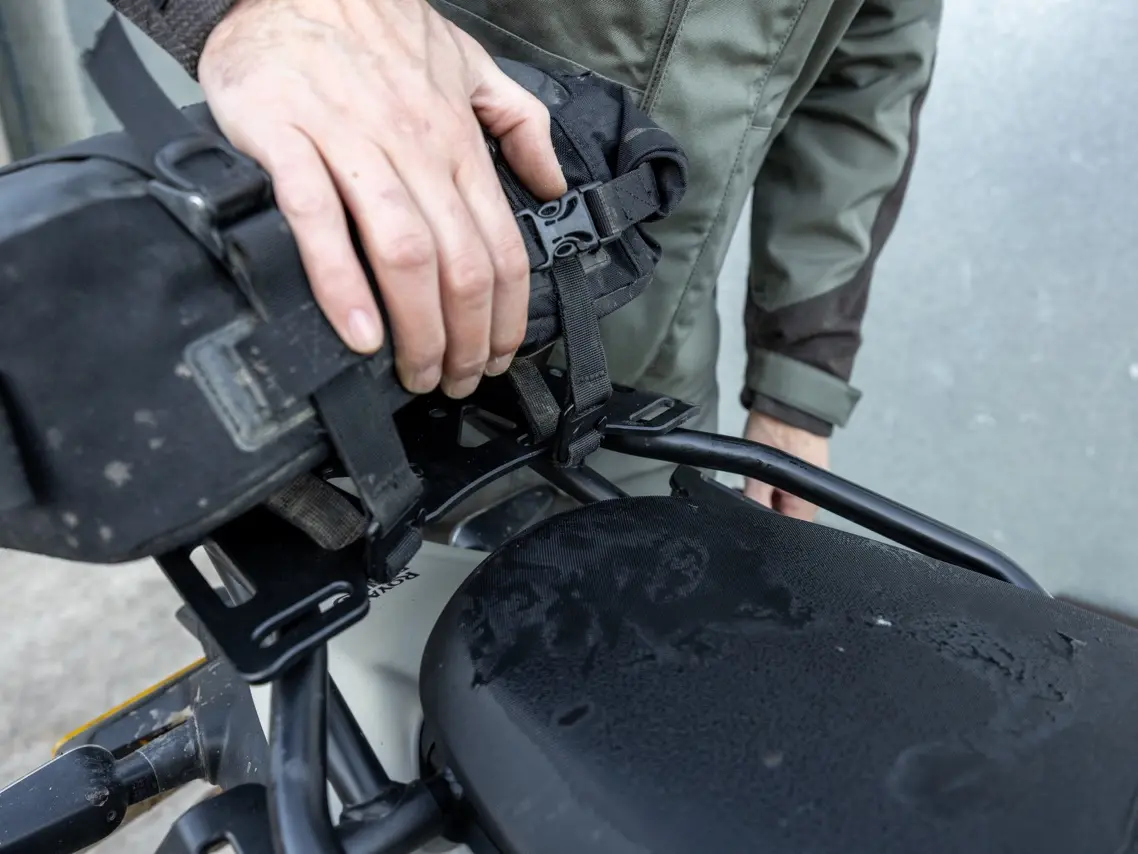
STEP 3:
Tighten straps.
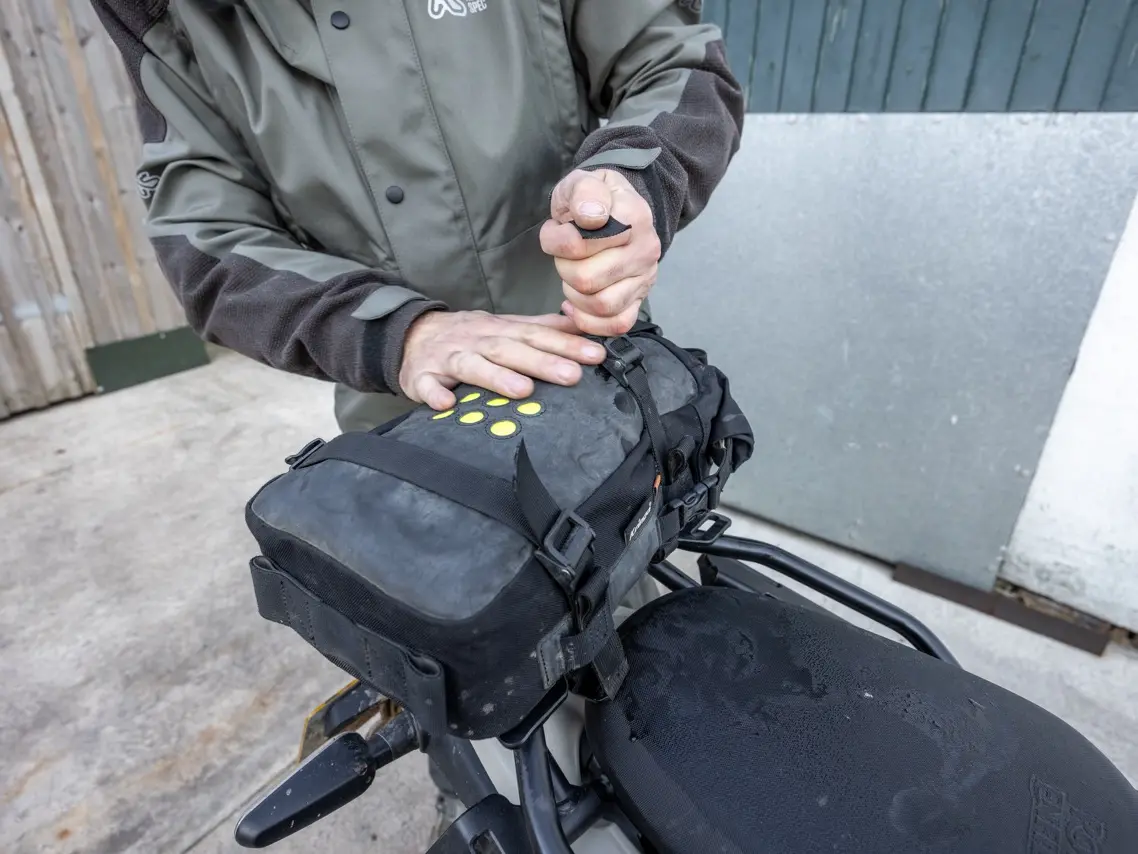
STEP 4:
Tuck away loose straps and give everything a good tug and wiggle to make sure all is secure. Check there is sufficient gap between panniers and exhaust (consider adding our Exhaust Heat Shield if necessary).
★ Installation complete! ★
BUY HIMALAYAN 450 HARD PARTS HERE
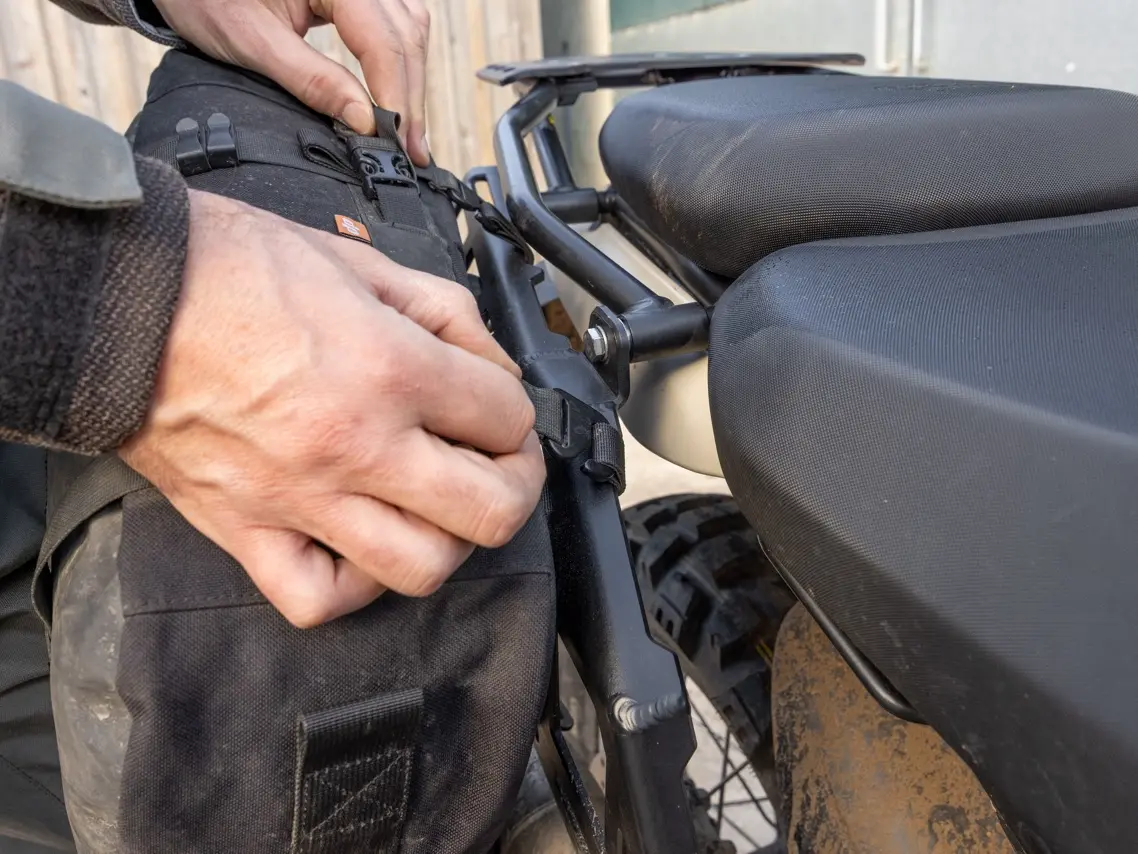
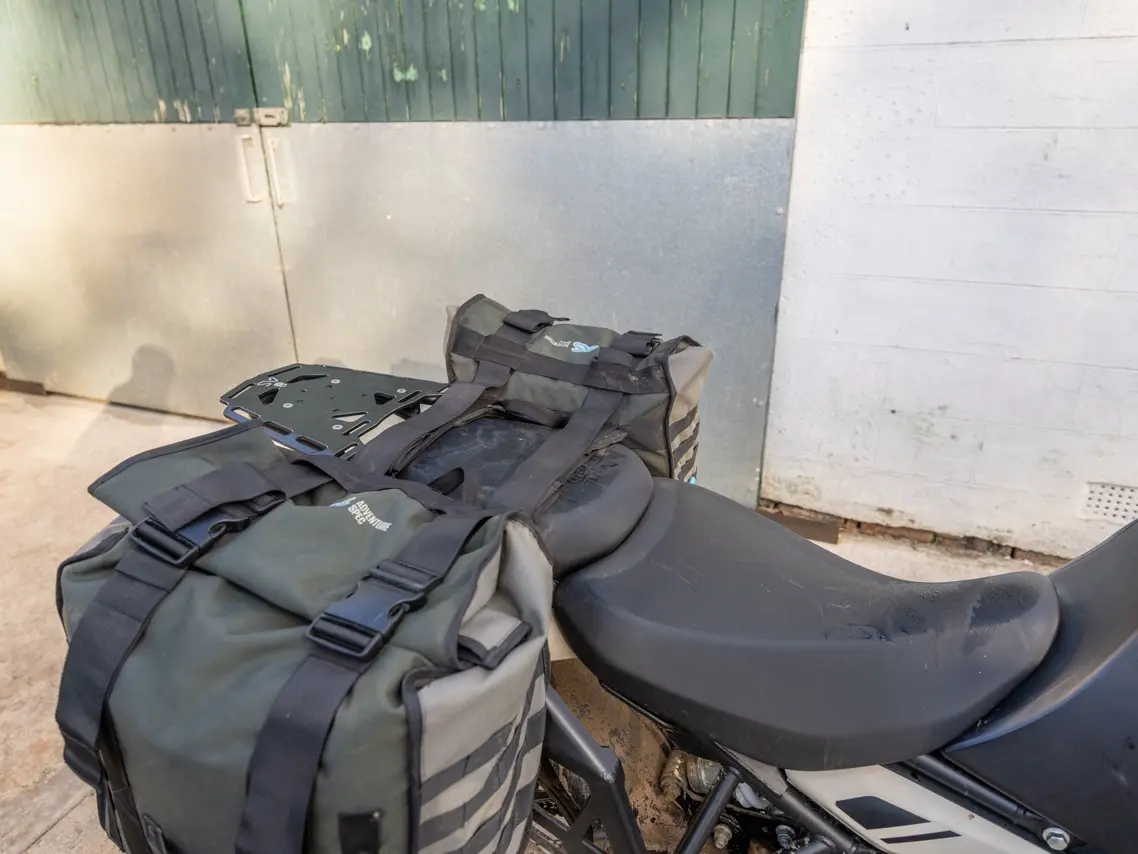
Adventure Spec Magadan Panniers:
All Adventure Spec luggage racks come with mounting options suitable for a variety of different luggage and straps.
This guide shows the Adventure Spec Magadan Panniers being installed on the Royal Enfield Himalayan with Adventure Spec luggage racks. Other luggage and bike / rack combos are possible and will follow the principle of this guide.
STEP 1:
Lay the Magadan Panniers over the rear of the bike, resting against the side luggage racks. Use the connecting straps to fine tune positioning.
STEP 2:
Clip cinch strap webbing on the front of the pannier.
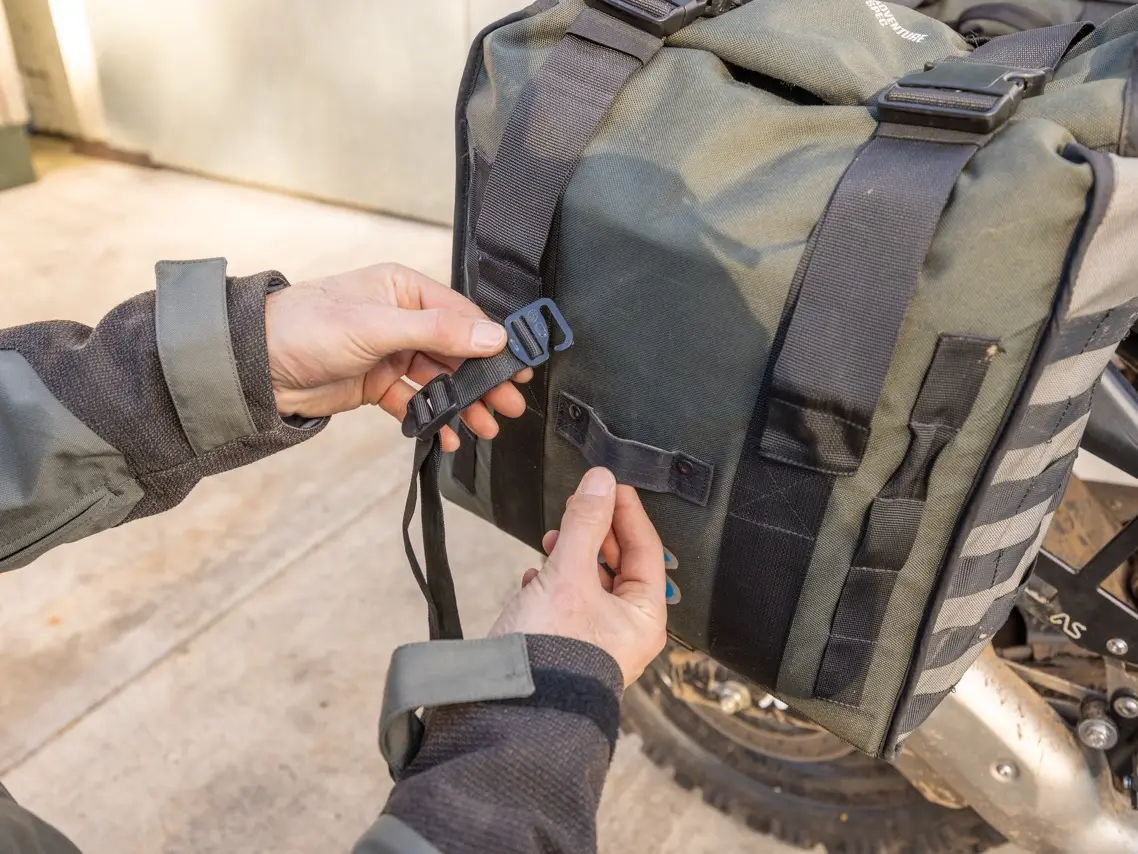
STEP 3:
Thread webbing around pannier and through the luggage rack.
STEP 4:
Secure strap on the front of pannier.
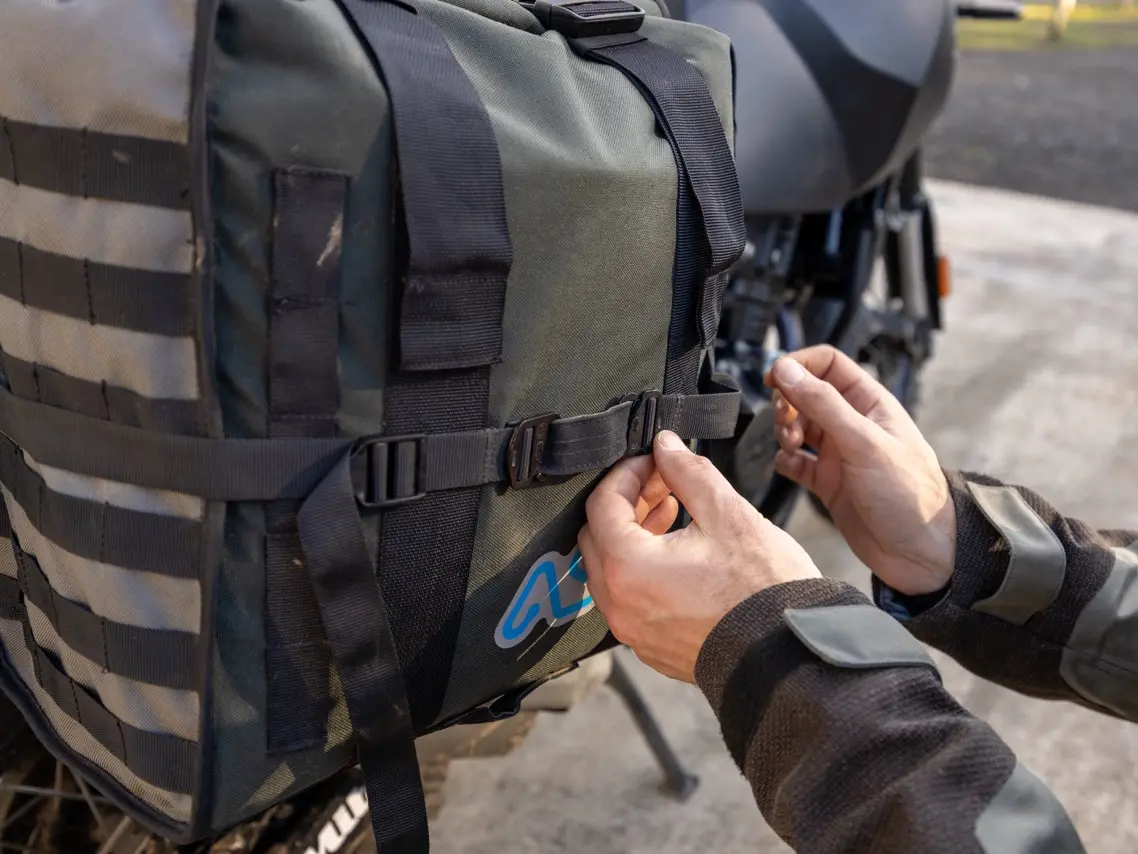
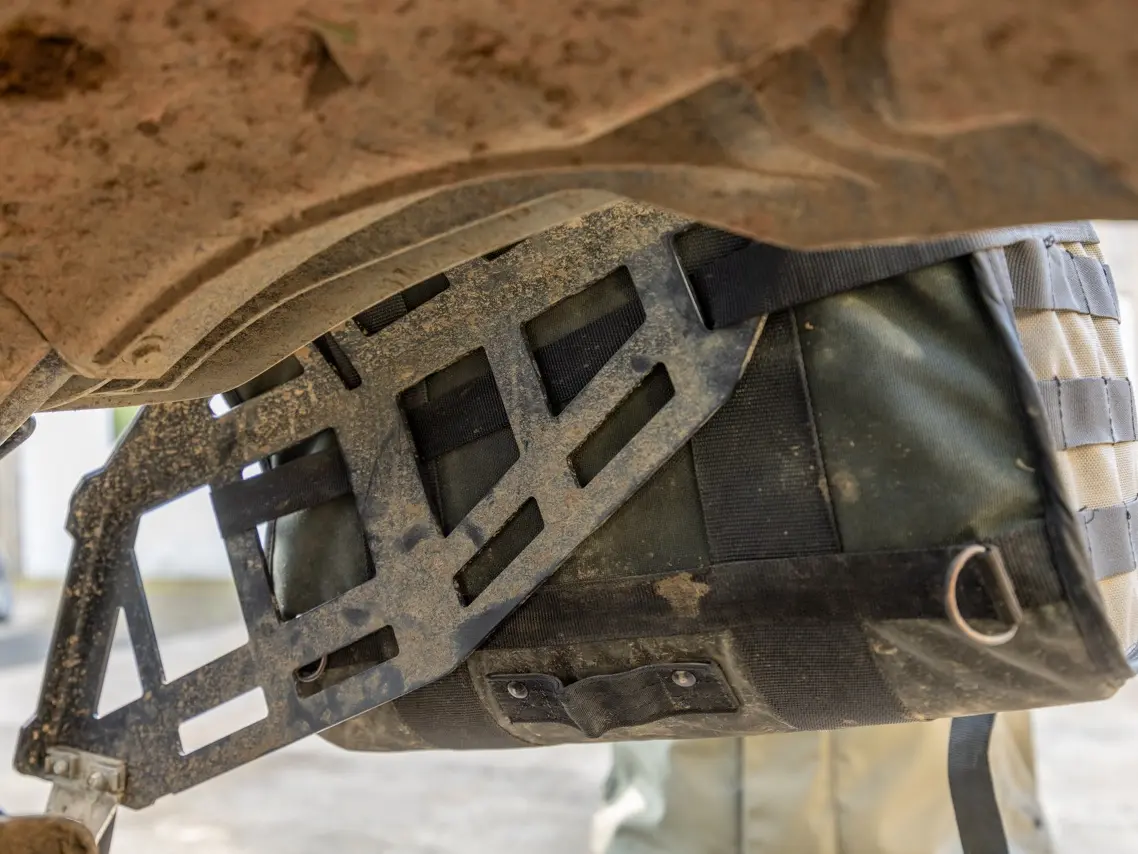
STEP 5:
Tighten straps.

STEP 6:
Tuck away loose straps and give everything a good tug and wiggle to make sure all is secure. Check there is sufficient gap between panniers and exhaust (consider adding our Exhaust Heat Shield if necessary).
★ Installation complete! ★
BUY HIMALAYAN 450 HARD PARTS HERE
